



Flash & Pair a GEIA Node
Get a GEIA or compatible DIY board ready, then pair your node in the app.
Step-by-step
Get ready
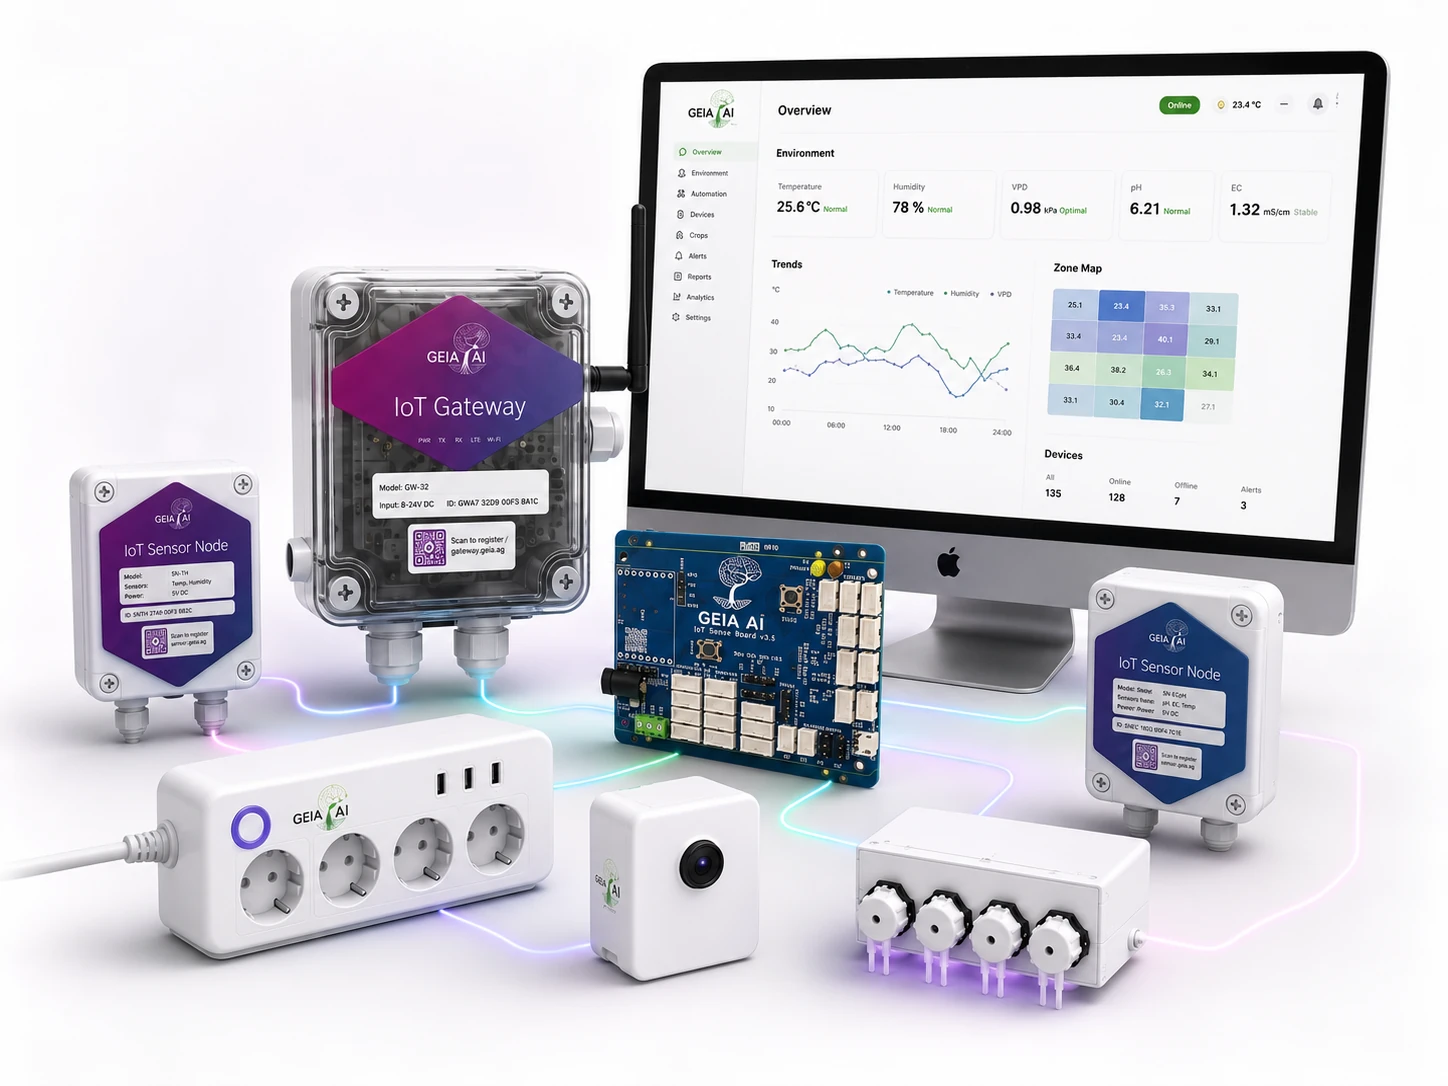
Choose a GEIA Board or a supported DIY board. Both can be paired in the GEIA app.
| Have ready | GEIA Board | DIY board |
|---|---|---|
| Free GEIA account + app | ✓ | ✓ |
| A board | GEIA Board | Supported DIY board |
| 2.4 GHz Wi-Fi access | ✓ | ✓ |
| Computer + USB data cable | Not needed to flash | ✓ |
A GEIA Board comes with firmware already installed.
Connect your board
Just power it on
Its firmware is already installed. Power the board through its 9–12 V DC jack or 5 V USB connection.
Connect by USB
Connect the board to your computer with a USB data cable. If it has no USB port, use a compatible USB-to-serial adapter.
Keep the DIY board connected for the next step.

Flash the Firmware - DIY Boards Only
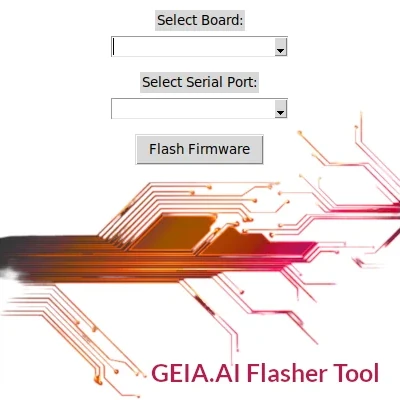
Download the GEIA Firmware Tool for your computer. If you have a pre-flashed GEIA Board, skip this step.
A separate macOS installer is not currently listed, so the macOS option opens the source project.
Pair Your Node in the GEIA App
Power on the node and open Hardware Status → Add Hardware (+) → Node Device in the GEIA app . The app uses four wizard screens, grouped into three simple parts below.
Connect and check
Follow the connection instructions. Check that the main ESP LED, which may be blue or orange, blinks slowly.
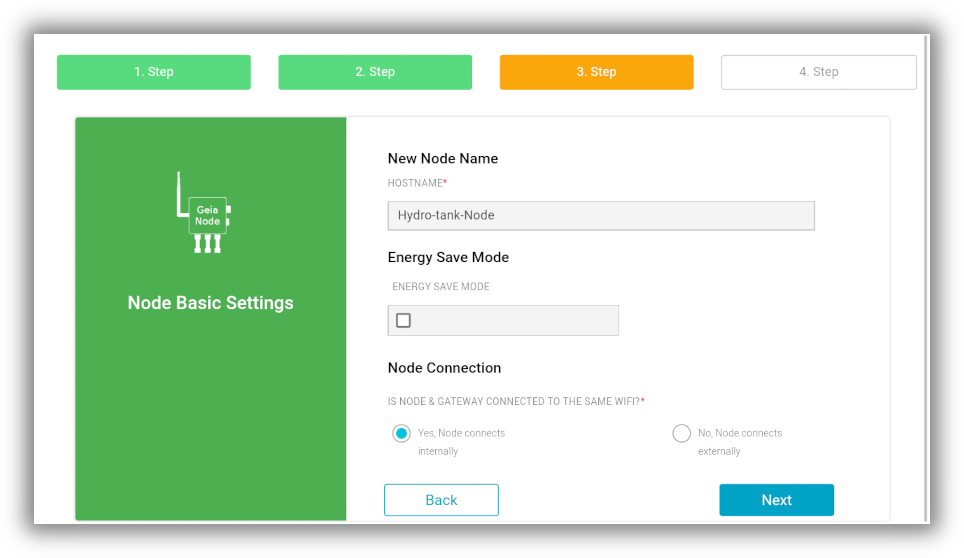
Name and configure your node
Enter a name such as Greenhouse-Node. Use letters, numbers and hyphens, without spaces or special characters. Enable Energy Save when using batteries or the off-grid add-on. Then choose whether the node connects through GEIA Cloud or a Local Gateway.
Finish pairing
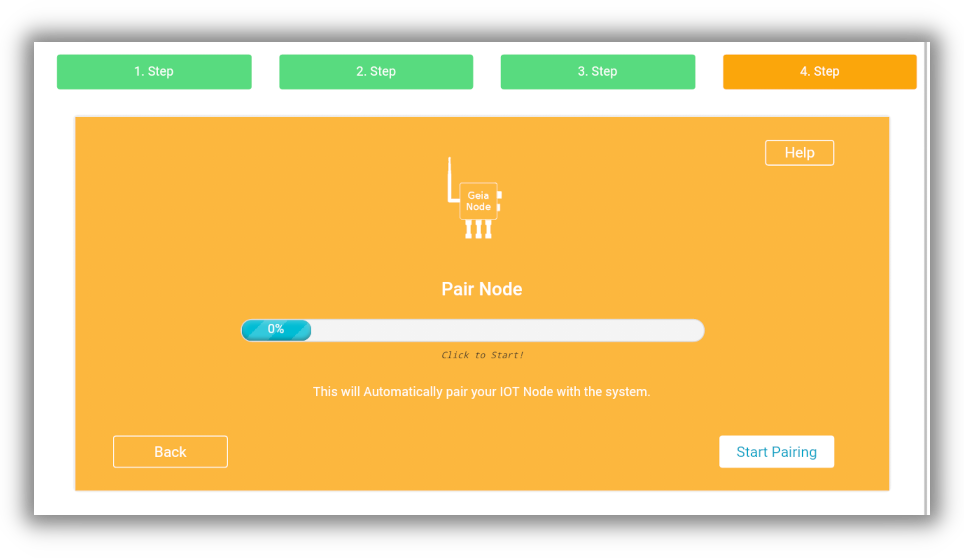
At around 19% progress, join the node’s temporary Wi-Fi when asked and then return to the app. At around 80%, make sure your phone reconnects to your normal Wi-Fi network.
- Board not shown in the flashing tool? Use a USB data cable, reconnect the board and try another USB port.
- LED not blinking? Check the power. For a DIY board, also check that you flashed the correct board profile.
- Pairing stopped? Start with your phone on the same 2.4 GHz Wi-Fi network the node will use.
- Disable mobile data (3G/4G/5G), join the node’s temporary Wi-Fi when asked, and reconnect to your normal Wi-Fi at around 80%.
Automation safety note
Flashing replaces the firmware on a DIY board. Check the selected board and serial port, and keep it connected until flashing finishes. Skip flashing for a pre-flashed GEIA Board.

